How To Use Elgato Cam Link 4K For Broadcasting & Live Streaming?
I have done tons of live streaming over the years to share video of my 187 gallon aquarium and in doing so I even have used several different video capture cards. once I switched to a Sony a7 III Full-Frame Mirrorless Camera I saw some compatibility issues with the cardboard i used to be using at the time so it had been time to seek out an alternate solution. I did some research and landed on the Elgato Cam Link 4K video capture card since reviews were very favorable. How To Use Elgato Cam Link 4K For Broadcasting & Live Streaming?
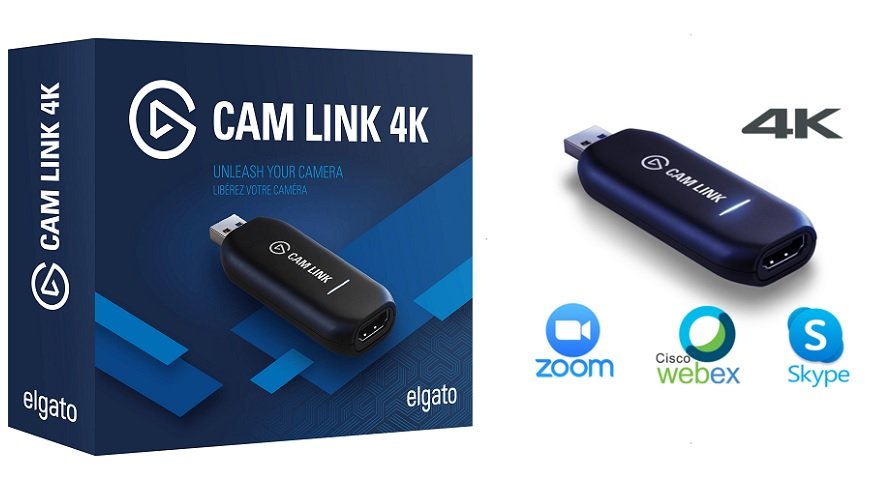
With this device you’ll live stream to Facebook, YouTube or another platform employing a DSLR, mirrorless camera, GoPro or knowledgeable camcorder.
For live streaming software i exploit a free solution called Open Broadcaster Software or OBS. differently to travel is Wirecast, which costs $700 and has many cool features not available in OBS, including the power to measure stream simultaneously to both Facebook and YouTube. If you would like knowledgeable streaming solution then use Wirecast.
Ok, so let me begin this tutorial by starting with the required equipment..
Equipment List For Elgato Cam Link 4K For Broadcasting & Live Streaming
- Camera – you’ll inspect this page to ascertain which cameras are compatible with the Elgato Cam Link 4K.
- Computer or laptop – you’ll not be ready to effectively stream video if you don’t have a computer or laptop with enough giddyup. ask the manufacturer to form sure you’ve got a strong enough processor, sufficient RAM and an honest graphics card. I can stream rather well using my iMac but I once I tried using my wife’s MacBook the stream was terrible.
- Elgato Cam Link 4K – duh 🙂
- Apple USB-C to USB Adapter – If you’ve got a Mac without a USB port you’ll need one among these to attach the Elgato Cam Link 4K to your laptop or computer. Windows PC users with a USB port won’t need one.
- HDMI Cable
- Professional camcorders – Use a typical male/male cable. i might recommend an extended one like this 50 footer.
- Mini-HDMI to HDMI Cable
- Professional camcorders – not needed
- DSLRs/mirrorless cameras – The Mini-HDMI to HDMI cable should accompany the camera, although they’re pretty short. I picked up this longer one to further extend the reach of my camera.
- GoPro – GoPro Micro HDMI Cable
Audio
As for audio, I highly recommend purchasing an external microphone for your DSLR or mirrorless camera like this one sold by Rode. Professional camcorders have good external microphones but if the themes are more then 6 feet away use a wireless lavalier microphone system. this technique would even be the optimal thanks to choose a DSLR or mirrorless camera if your subjects aren’t on the brink of the camera.
The internal microphones on GoPros, quite frankly, stink. To upgrade my GoPro’s audio, I picked up an external microphone also as a couple of other accessories. The setup works great.
Equipment for GoPro Audio Upgrade
- GoPro Aluminum Case
- Seadream 2PACK 6 inch 3-Pole Audio Cable
- Adjustable Cable Clips
- Quick Release Thumb Screw
- Saramonic SR-XM1 3.5mm Microphone
- GoPro Pro 3.5mm Mic Adapter
- 3M Dual Lock Reclosable Fastener
- EDUTIGE Fur Windscreen
- Ulanzi Phone Tripod Mount Adapter
- GoPro Shorty Mini Extension Pole Tripod
Connecting Camera – How To Use Elgato Cam Link 4K For Broadcasting & Live Streaming
- For a DSLR, mirrorless camera or GoPro, take the acceptable Mini-HDMI to HDMI Cable and insert insert the Mini-HDMI connector into the Mini-HDMI port on the camera. Then insert the mail HDMI end into the feminine HDMI port on the Elgato Cam Link 4K.
- For knowledgeable camcorder insert one end of a typical male/male HDMI cable into the the HDMI port on the camcorder and therefore the other end into the Elgato Cam Link 4K.
- If you’ve got a USB port on your laptop or computer then insert the Elgato Cam Link 4K into that port.
- If you are doing not have an available USB port then use the Apple USB-C to USB Adapter.
Bandwidth
Before opening up OBS, let’s cover the bandwidth needed for live streaming. the first step is to check the upload speed at the situation you’re streaming from. you’ll do so by visiting speedtest.net and clicking on the “Go” button. i like to recommend having a minimum of 20 mbps upload speed for live streaming. I also recommend being hard-wired to the web at both private and public locations versus using WiFi. A 300 foot coaxial cable is comparatively inexpensive.
If WiFi is your only option, roll in the hay on a password protected network, especially during a public place. Bandwidth are often consumed quickly on a non-password protected network by others browsing the web on their phones.
A lower video resolution also will provide more cushion in terms of bandwidth and my preference is to always stream at 720p vs. 1080p. I usually set my stream settings to 720p at 30 fps for YouTube and Facebook but sometimes I do accompany 720p at 60 fps. 720p remains High Definition (HD) and that i have found the standard to be pretty darn good.
Setting Up OBS
- Turn on your camera and confirm the video capture setting is on the resolution you propose to stream in. Let’s use 720p 60 fps.
- You may even have to regulate your HDMI settings on your camera.
- On my Sony I even have “HDMI Resolution” set to “Auto” and “HDMI Info. Display” on “Off”.
- I don’t adjust the “24p/60p Output” and that i have the “TC Output” on “Off”.
- Open OBS
- Within OBS attend the “Scenes” menu at rock bottom on the left and hit the “+” sign. Give the scene a reputation .
- Under “Sources” at rock bottom click on “+” and choose “Video Capture Device”.
- Select “Create New” and provides it a reputation . I labeled mine Cam Link. confirm “Make source visible” is checked.
- A “Properties for Cam Link” window will open up. Select “Cam Link 4K” within the “Device” menu .
- Check the “Use Preset” box and choose 1280×720.
- Under “Controls” within the bottom right corner click on “Settings”.
- Use all of the defaults within the “General” tab.
- Click on the “Stream” tab and choose either “Facebook Live” or “YouTube/YouTube Gaming. you’ll notice there are many other choices like Twitch so this tutorial also can be used for those platforms. Leave the “Server” field as is.
- Stream key – There are different procedures for retrieving this for both Facebook and YouTube
- Facebook
- Go to your Facebook page.
- Click on “Creator Studio” at the highest .
- Select the “Go Live” button within the top right corner.
- Select the page you manage.
- Under “Live API” within the top right corner copy the “Stream Key” and paste it into the “Stream Key” field in OBS.
- YouTube
- Go to your YouTube channel.
- Click on “YouTube Studio” within the upper right corner.
- Click on the “Create” button within the top right corner then “Go Live”.
- Select “Stream” at the highest and “New Stream”.
- Enter a title, description and the other relevant settings.
- Click on “Create Stream” at rock bottom .
- On the left you’ll see a Stream Key. Copy and paste it into the “Stream Key” field in OBS.
- Facebook
- In the “Output” menu select “Simple” for “Output Mode”.
- Use 5500 because the “Video Bitrate” and 128 for the “Audio Bitrate”
- You can record the stream but i might advise against it since it’ll chew processing power on your computer or laptop.
- In the “Audio” menu select 44.1 kHz because the “Sample Rate”.
- Use “Stereo” for “Channels” and choose “Disabled” for both desktop audio options.
- For “Mic/Auxiliary Audio” choose “Built-in Microphone”. Select “Disabled” for the opposite auxiliary audio options.
- Select “Fast” for “Meters Decay Rate” and “Sample Peak” for “Peak Meter Type”. Use “Default” under “Advanced” for “Monitoring Device”. Leave the “Hotkeys” boxes below un-checked.
- In the “Video” menu select “1280×720” for “Base (Canvas) Resolution” and “Output (Scaled) Resolution”.
- Use “Bicubic (Sharpening scaling, 16 samples)” for the “Downscale Filter”
- Choose “60” for the “Common FPS Values” to match what’s used on the camera.
- Leave both the “Hotkeys” and “Advanced” menus as is.
- Click “Ok”.
Final Steps
Before you launch the stream confirm you’ve got some headphones plugged into your laptop or computer so you’ll monitor the sound. Ok, are we ready? Hit the “Start Streaming” button under “Controls”. If you chose YouTube then you’re live once you hit the “Go Live” button within the top right corner of your YouTube page with the stream key. For Facebook enter a title and outline for the live stream on the left where the stream key’s within the live section of Creator Studio. Hit “Go Live” within the bottom left corner and you’re in business.
Overall, i’m very happy with the Elgato Cam Link 4K video card. it’s easy to setup and has been a rock-solid performer 🙂
Interested in similar articles, including my Complete Guide to measure Streaming on Facebook & YouTube and another on the way to stream a webcam live to YouTube? If so, please explore my other blog posts on photography and videography.
And if you’re trying to find additional insights and knowledge on reef tanks, please explore my many other reef tank and SPS related articles also as my YouTube channel. For a good deeper dive into reef tank care you’ll inspect my Reef Keeping class . This online course is an immersive and one among a sort educational tool designed to assist reef aquarium hobbyists build and maintain a gorgeous SPS reef tank. The course may be a series of video presentations with some supplemental video from my YouTube channel. There also are quizzes to assist students retain and understand the knowledge presented within the course.
Note
When you purchase something after clicking links in our articles, we may earn a small commission. Read our affiliate link policy for more details.
Editor’s recommendations
- Samsung (MZ-V7SLT0B/AM) 970 Evo Plus SSD 1TB – M.2 NVMe Interface Review
- WD My Passport Portable Hard Drive – 5TB : How To Use?
- Seagate Desktop 8TB External Hard Drive HDD Review – Does It Need Power Supply?
- CalDigit TS3 Plus Thunderbolt 3 Dock Review – How To Connect Dual Monitor?
- Lenovo US Lenovo Thinkpad USB-C Dock Gen 2 Review – What Is The Compatibility List?

